
alright as promised here is your "crappy Sav tutorial"... cue applause! sooo in these last 2 boxes i sent, i have a few things in there i am quite proud of.... so brace yourself!!!
Let's start out with the awesome-er one... i saw this on a mom's blog (sorry i don't remember where!!!) BUT i decided i would make them for Rye and a few of the other guys, i mentioned it to Rye and asked how many i should make (i was expecting him to either tell me it was a lame idea... OOOORRRR that maybe 1 or 2 other guys would want one) however he got really excited and said "Sav EVERYONE will want one" so he asked me to make 10 total... and proceeded to give me their nicknames so i could personalize them... so here we go!
Marshmallow Guns
the way these work, you stick i mini marshmallow in one end... and blow really hard and it shoots pretty far... i know because i shot Deezul with each and every one of them to make sure they worked. You may try and say this is animal cruelty... but umm... has anyone thrown a mini marshmallow at you? NOT painful... PLUS he got to eat all the marshmallows... so he didn't seem upset at all!
ok so i started out with a 1/2 inch pvc pipe, i needed 12 inches for each gun, so when i bought the pipe i just asked them to cut them into 12 inch pieces... ya thats the smallest THEY would cut, so iiii had to do the rest of the cutting all by my lonesome (tip, spend the extra $10 and get the NICER pvc cutters.. cause mine left bruises and blisters all over both of my hands.) so i needed 3- 2 inch pieces, and 2- 3 inch pieces (wow did that make sense?! so i marked with a sharpie where to cut and set off to work.
 |
| the supplies |
once all the pieces were cut i just had to fit on the caps, elbows and T's... sounds easy peasy... but it took a bit of finessing and sweat!

 | |
| neither of these are Riley's... his nickname is far more lame :) |
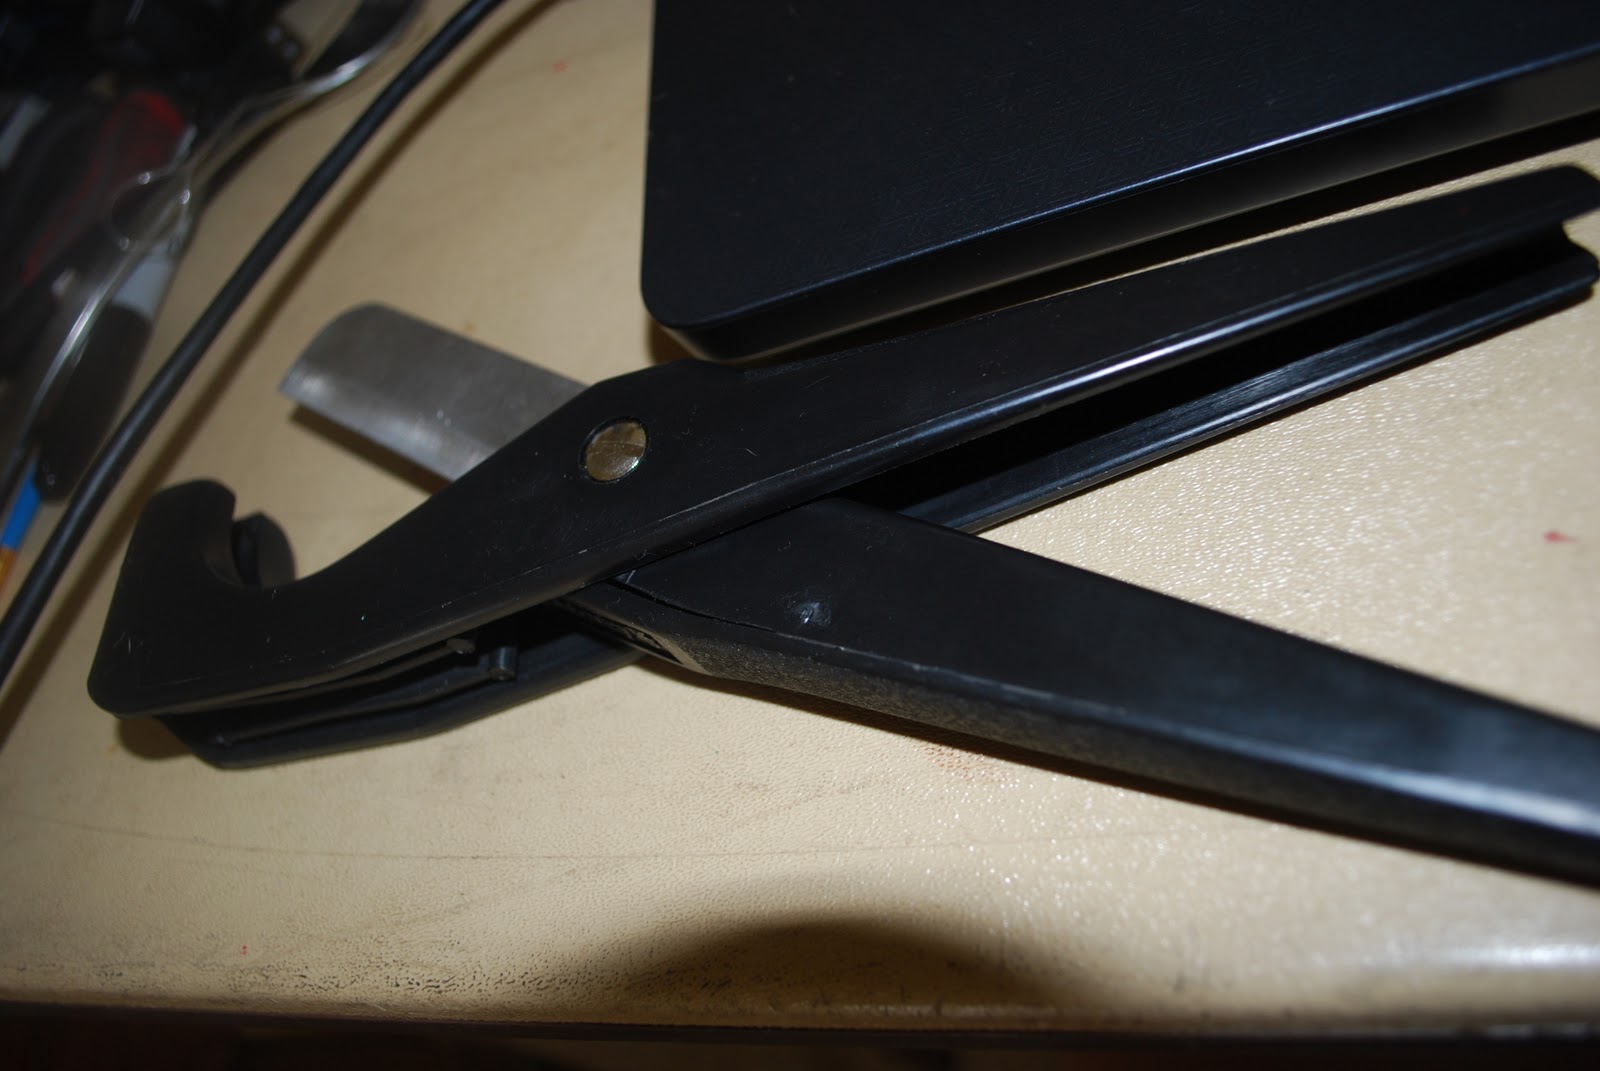 |
| worst $10 ever spent!!! worst tool EVER!! |
ok lets do another quick one! ok so this one i have been planning on doing LOONG before they deployed. however finding "mini mason jars" proved to be an adventure. i DID find them at a local craft store. they ended up being about a buck a jar... plus the mix was $1 (joys of shopping on base! it'll probably cost you 3-4 for your mix.) and the frosting was $1 as well... again, it'll probably cost a little more OFF base.
 |
| The Jars |

it's pretty simple. you preheat the oven to whatever your cake mix tells you to... and then you prepare the batter JUST like the box tells you to...
then fill the jar but NOT all the way!!
 |
| my tester |
Then bake the jars...put them all on a cookie sheet... makes it simple to take out! check them with a toothpick to know when they are done. while they are cooling on the stove put the tops of the jars in water and simmer (just the seal not the thing you spin on over it.)
 |
| fresh from the oven |
 |
| simmering. |
ok so this next part, figure out what works for YOU, you COULD use tongs to take these out... i chose to use pliers... cause i'm Sav and why WOULDN'T i choose a non-conventional method. then put it on the jar and spin on the other thing TIGHT! ok so after you do this i set them all on the other counter to cool and one by one they began to pop... thats when you know they are SEALED and safe to ship without fear of salmonella and crap like that.
 |
| before the "pop" can you tell? |
 |
| after the pop! |
 |
| CUTE HUH!!! |


.JPG)


Oh my gosh, you are awesome! That's so cute that you don't just send stuff to your husband but other guys too. I'm sure all those boys love getting stuff from you!
ReplyDelete